
When we first moved into our home, we were thrilled to see wisteria growing in the backyard. We would always admire the beauty and the smell, and we tried so many times to grow wisteria in the past, but we were never successful. We had some work done in the backyard and had to move the wisteria to put in a patio, but we replanted after the project. Thankfully, the wisteria survived.

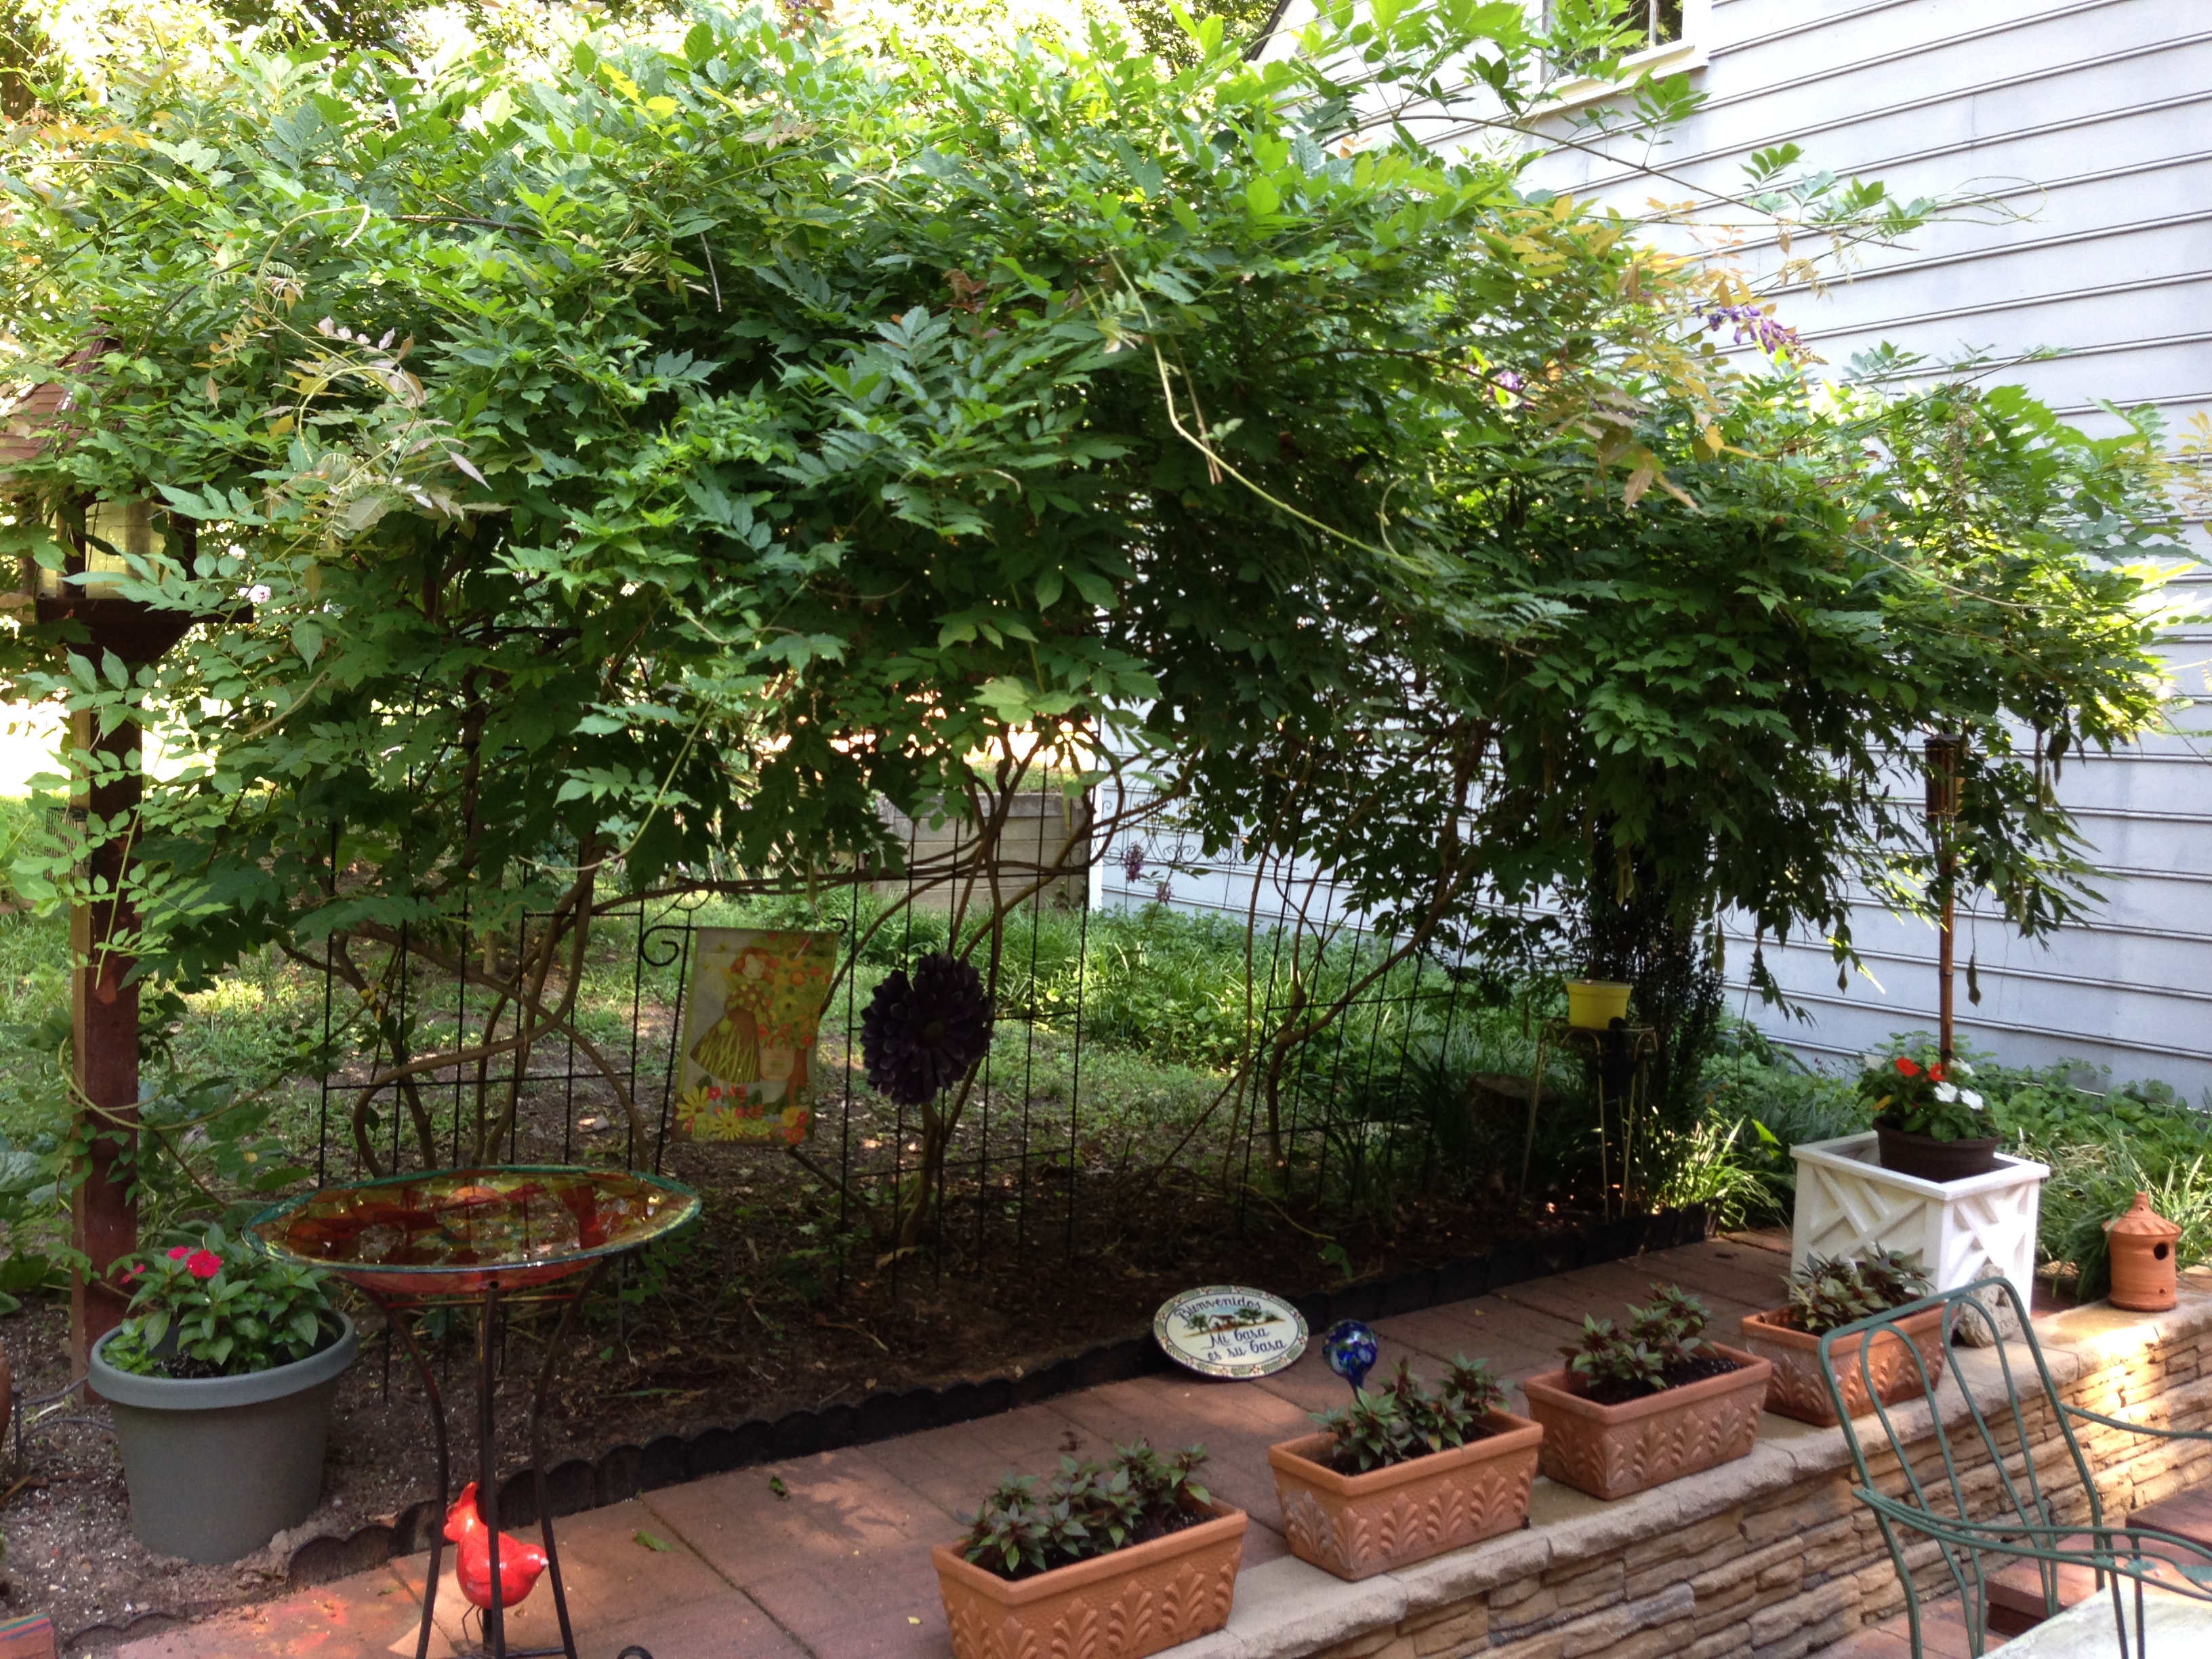
In fact, each year we would have to cut the branches back because the vine would grow exponentially! We dreamed of the vine growing over a beautiful pergola, and we would say, “One day, we will have a pergola.” For years we researched, planned, and dreamed, but other projects always seemed to take precedence. Last weekend, we made the dream happen!
1. Scope out the space where you desire to build a pergola.
We researched purchasing kits that matched our area/size but found they were expensive–out of our budget. When you go on home improvement store websites they offer standard sizes. Our patio did not meet the standards that typical pergolas came in. We wanted a size that met our needs and desires. With this in mind, you have a choice. You can order the kit, or you can “do it yourself”.
2. Once you decide to “do it yourself”, look at various pergola options and decide on your design based on what will fill your space.
For example, do you want a free standing pergola, or do you want to attach one end to the house? You have to consider windows and space. Do you want to paint it, or do you like the color of wood? We typed in the words “pergola design” in Google and visited many websites.
3. Create a materials list based on size and design.
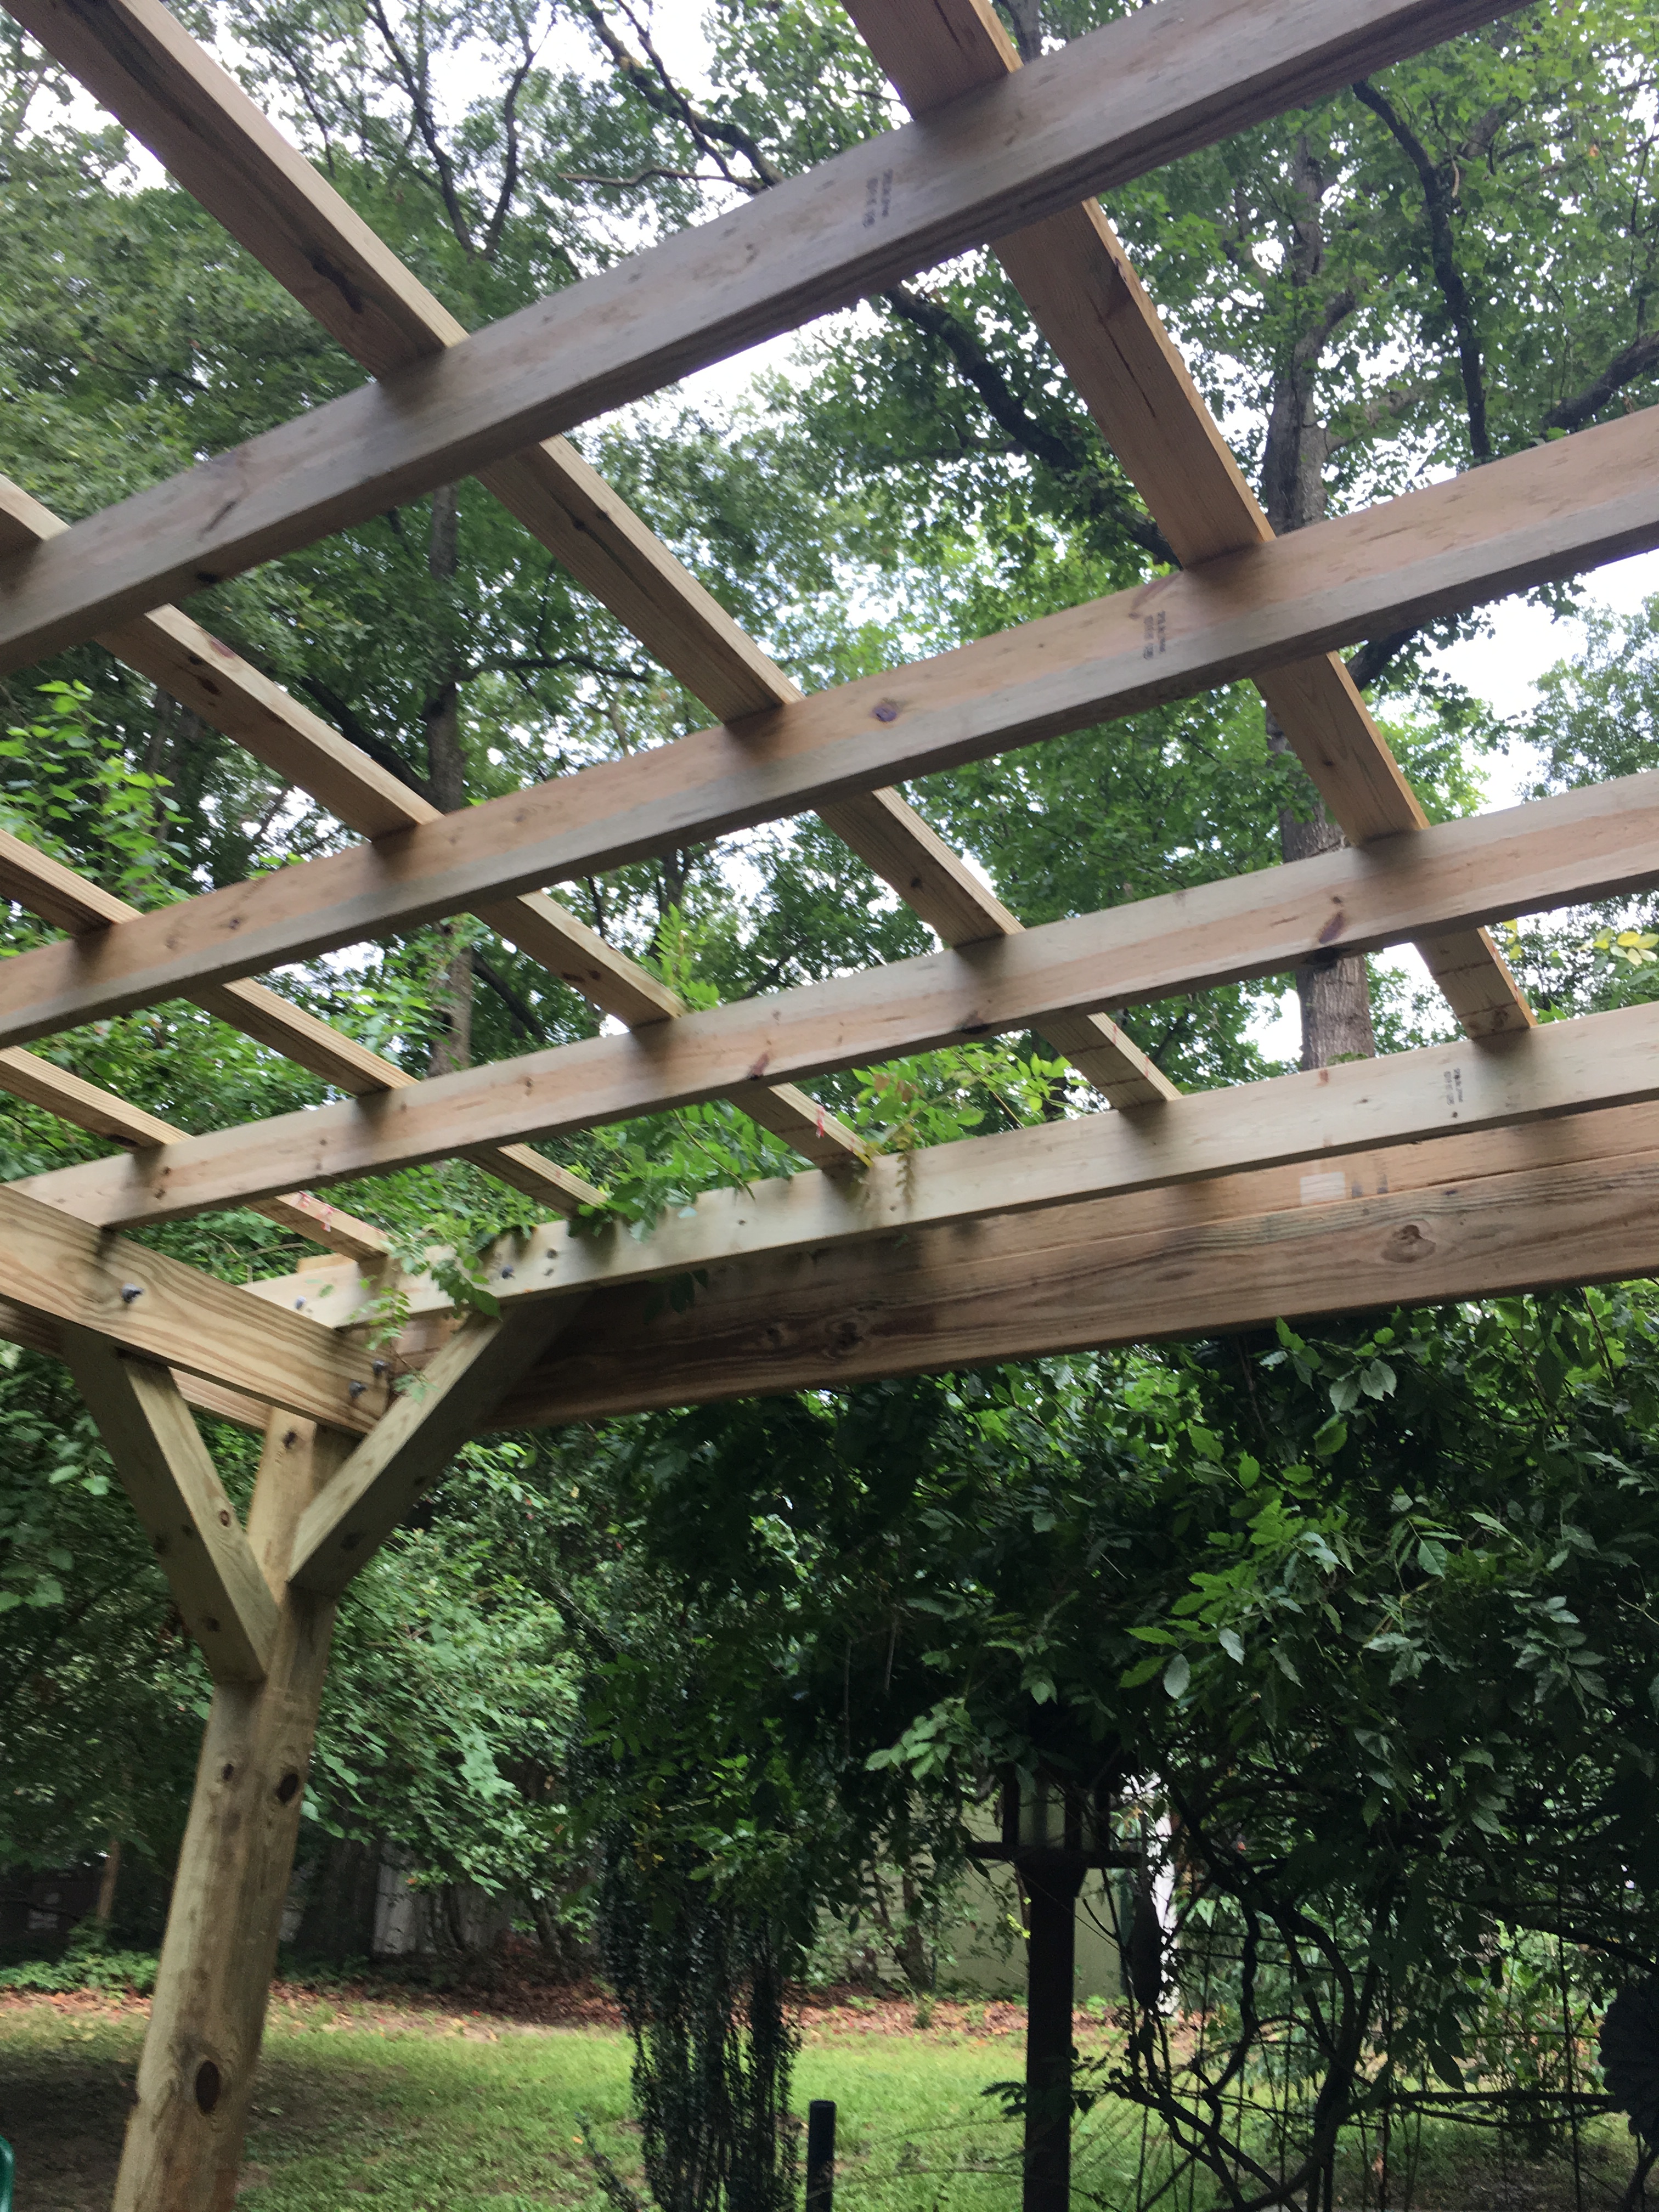
From post to post, our pergola is a bit over 12′ x 13′. The supports and rafters are longer. We used treated wood, most of it from Home Depot. You can simply write down your materials list or even create a spreadsheet with item counts and costs so you can budget your job. Creating a list will make things easier when ordering materials.
We used 6″ x 6 ” posts, 2″ x 8″ supports, 2″ x 6″ rafters, and 2″ x 4″ slats. For the angled bracing, we used 4″ x 6″ boards. Don’t forget the hardware. We used half-inch diameter carriage bolts, half-inch lag (hex) screws, and many of the carriage bolts were 10 inches in length to go through the larger posts and supports. We used the lag screws (5 inch) for the 2 x 8’s that ran the longer length of the pergola in areas where we could not through bolt. To set rafters in place, we used TimberLOK screws that went completely through the span of the rafter into the supports. We used 3 1/2 inch deck screws to fasten the slats to the rafters.
When considering materials, and even the building process, it is much like building a deck.

4. You can save some time by ordering your materials online at your local home improvement store.
It may be helpful to visit the store ahead of time to see what materials they have on hand and to get an idea of what your materials look like. You can also write down item numbers (or take pics of the tags), to use for placing your online order later.


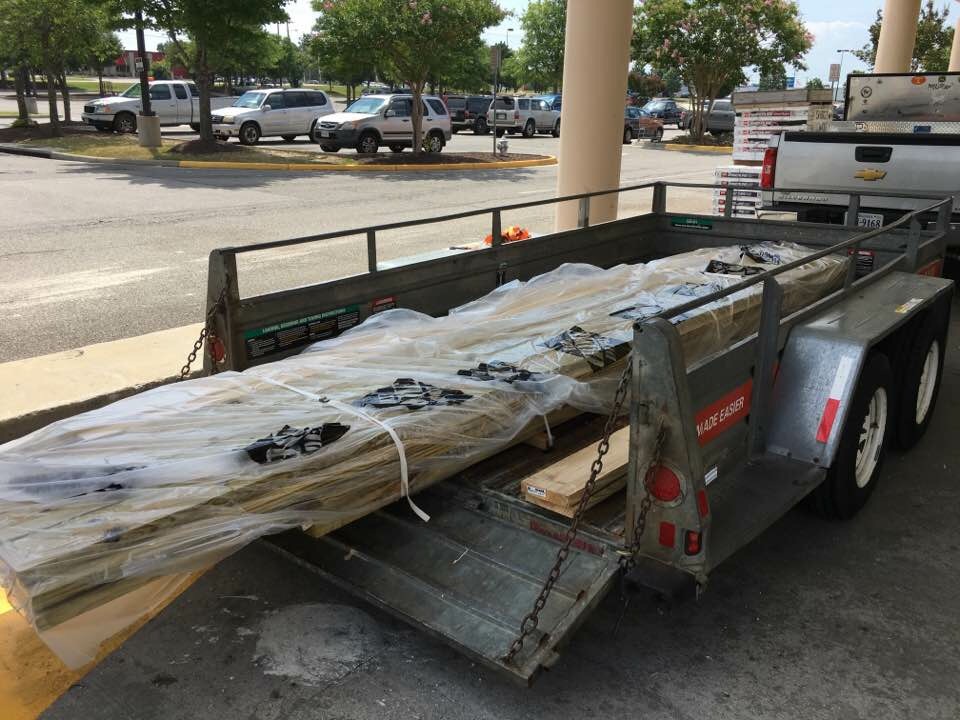
5. If you do not have a suitable truck to transport the materials, you may want to consider renting a trailer. We rented a 12 foot trailer from U-Haul for around 40 dollars for a half day. Our son-in-law had the truck with a hitch to pull it. Your situation may be different depending on the size of your truck bed, or the length of the boards you are carrying. We had some 16′ foot boards and a 6′ truck bed.
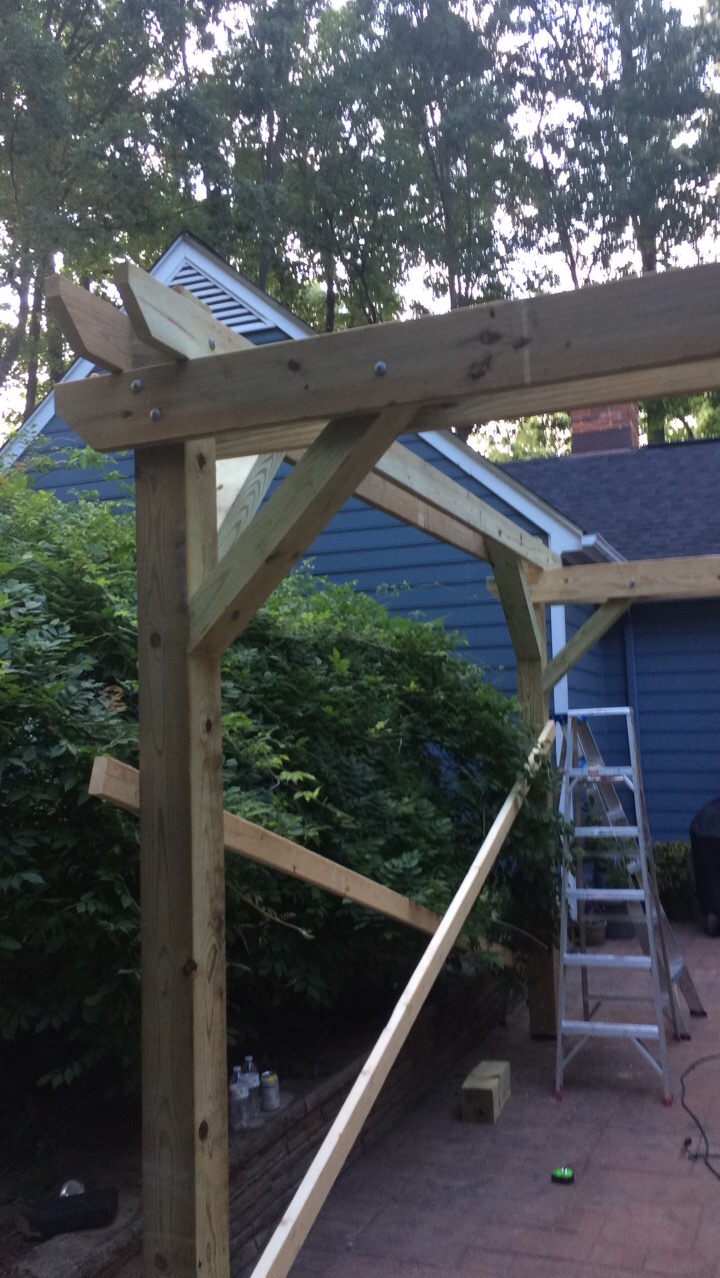
6. The Build !
The first thing we did was to frame up two posts, the support beams, and angled supports to create an arch. We did two of these. Fasten the posts and supports together with deck screws first, stand them up (with a friend or two), and check that the supports are level. You may want to check throughout the project to make sure that everything is level and plumb.
We then used 2 by 4’s to make temporary X-bracing. This allowed our arches to be supported and stand up while we added the additional support beams, rafters, angled bracing, and slats.
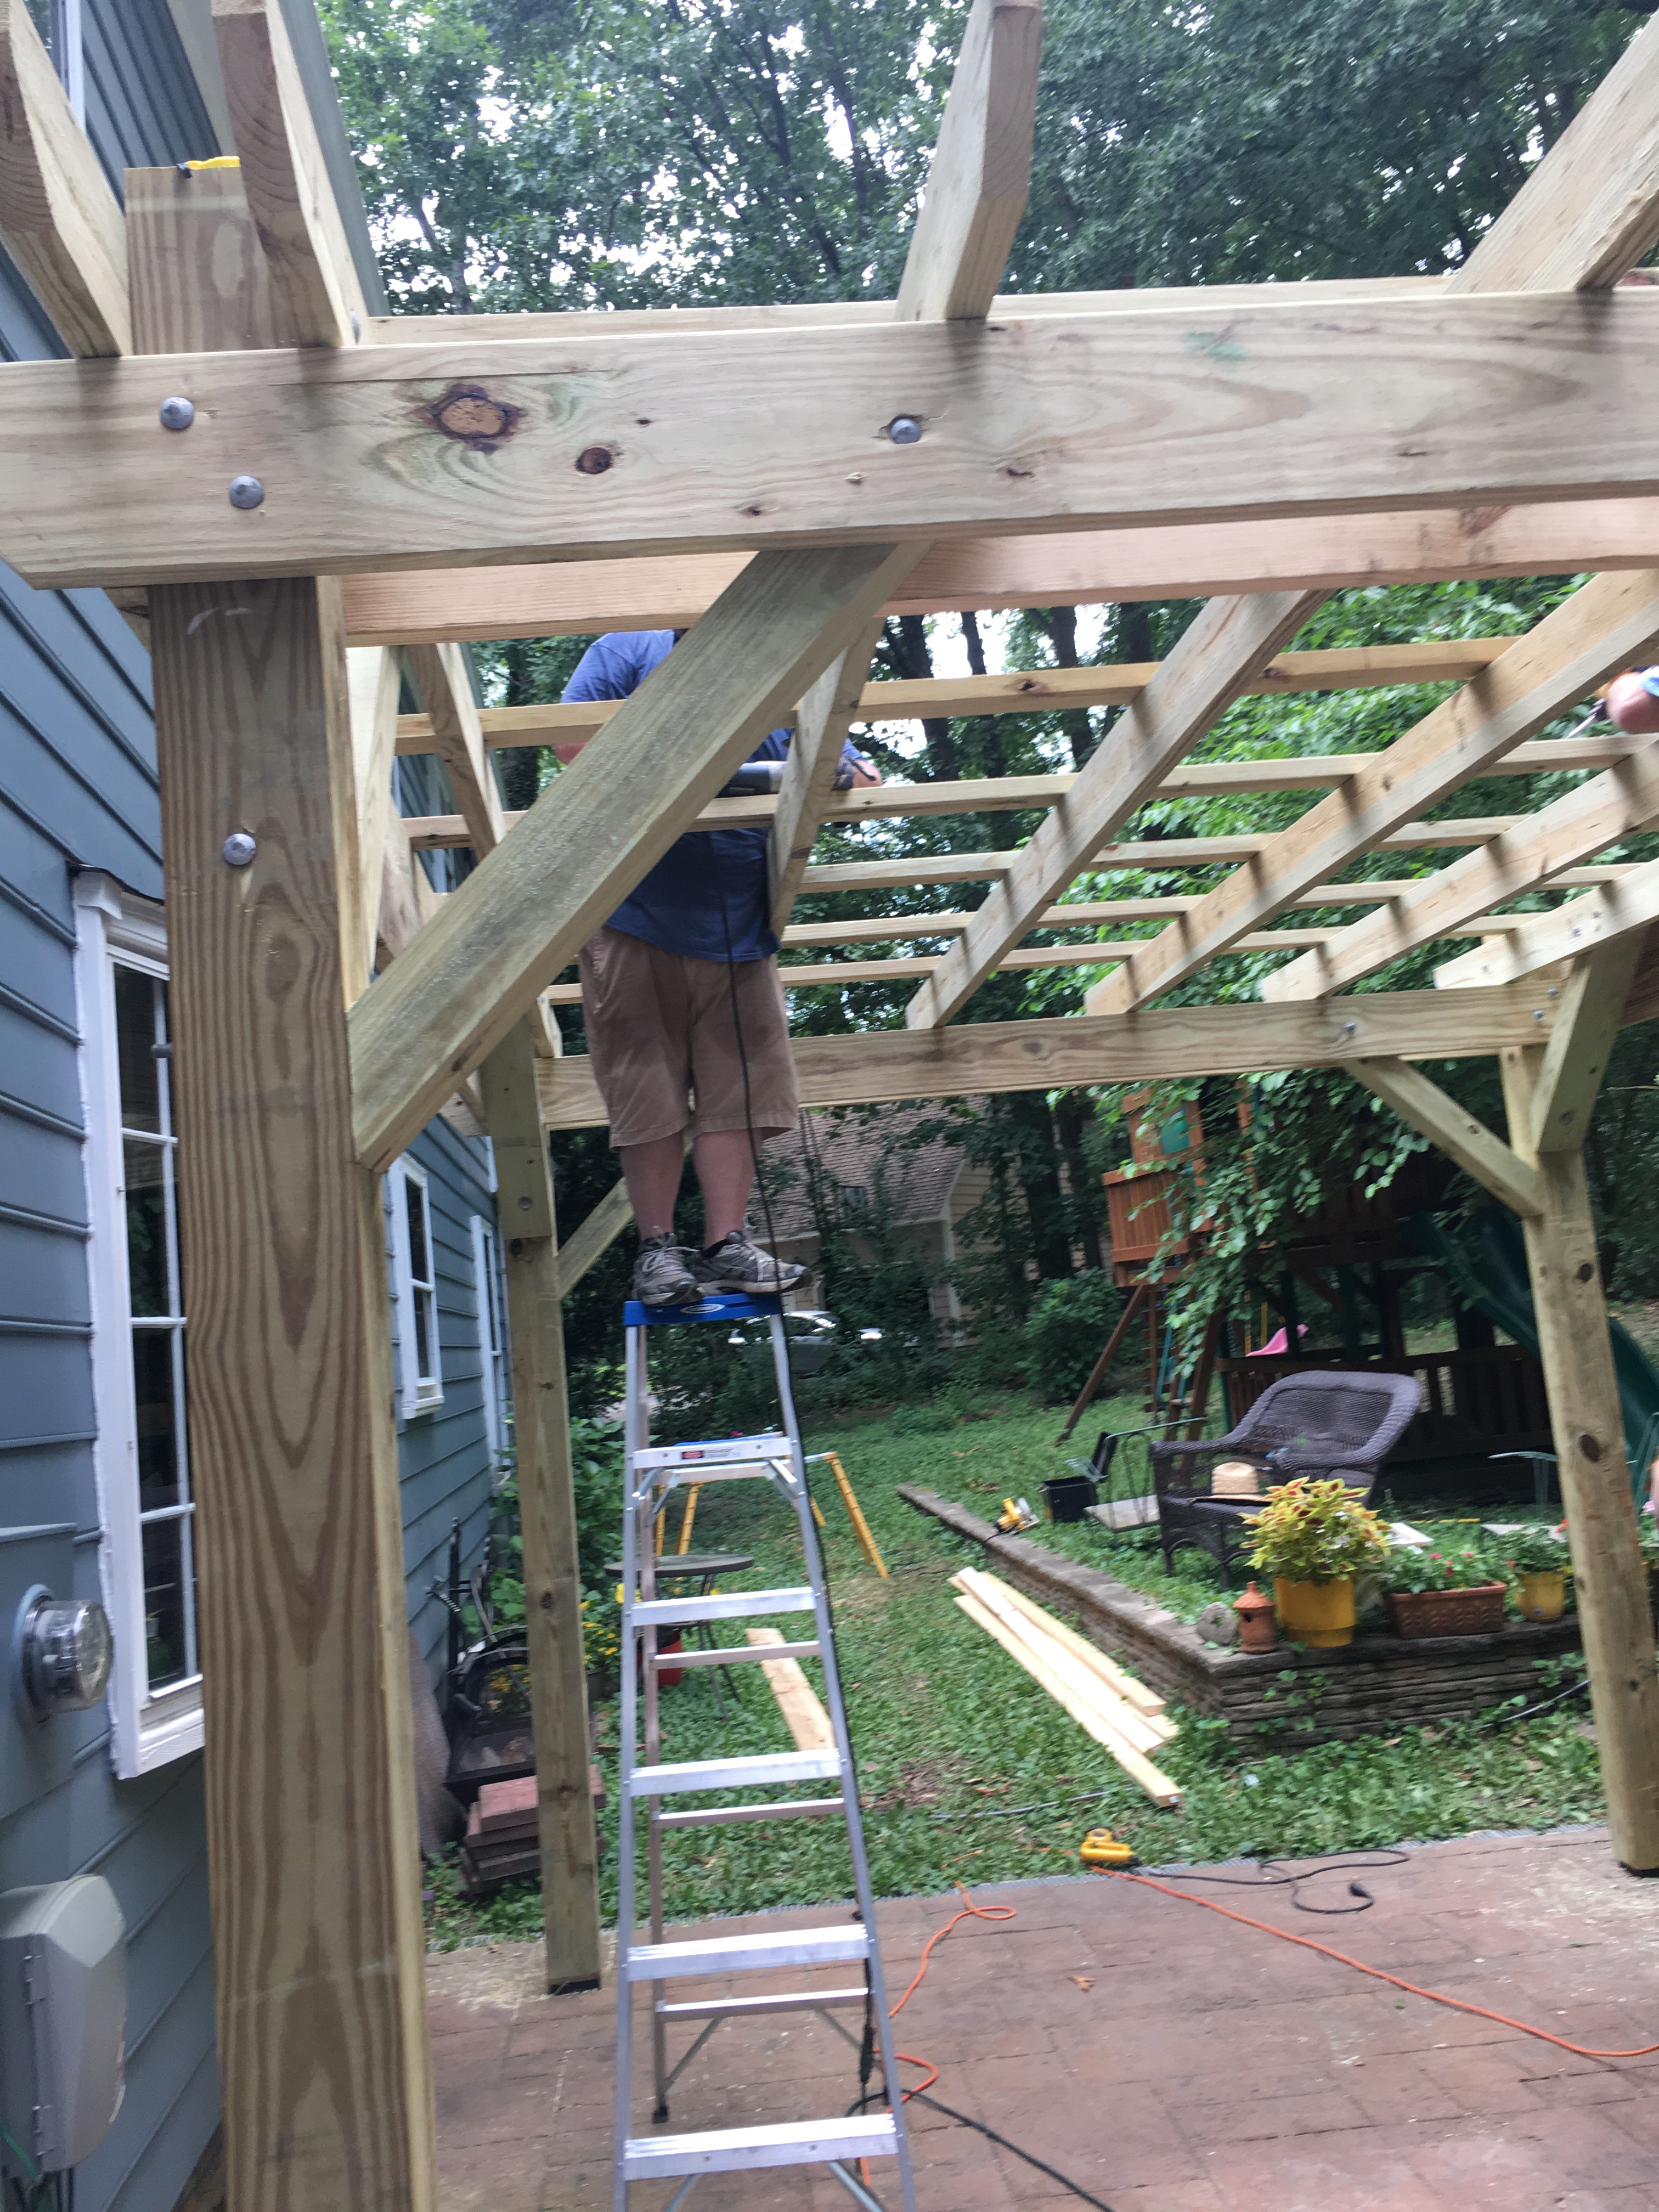

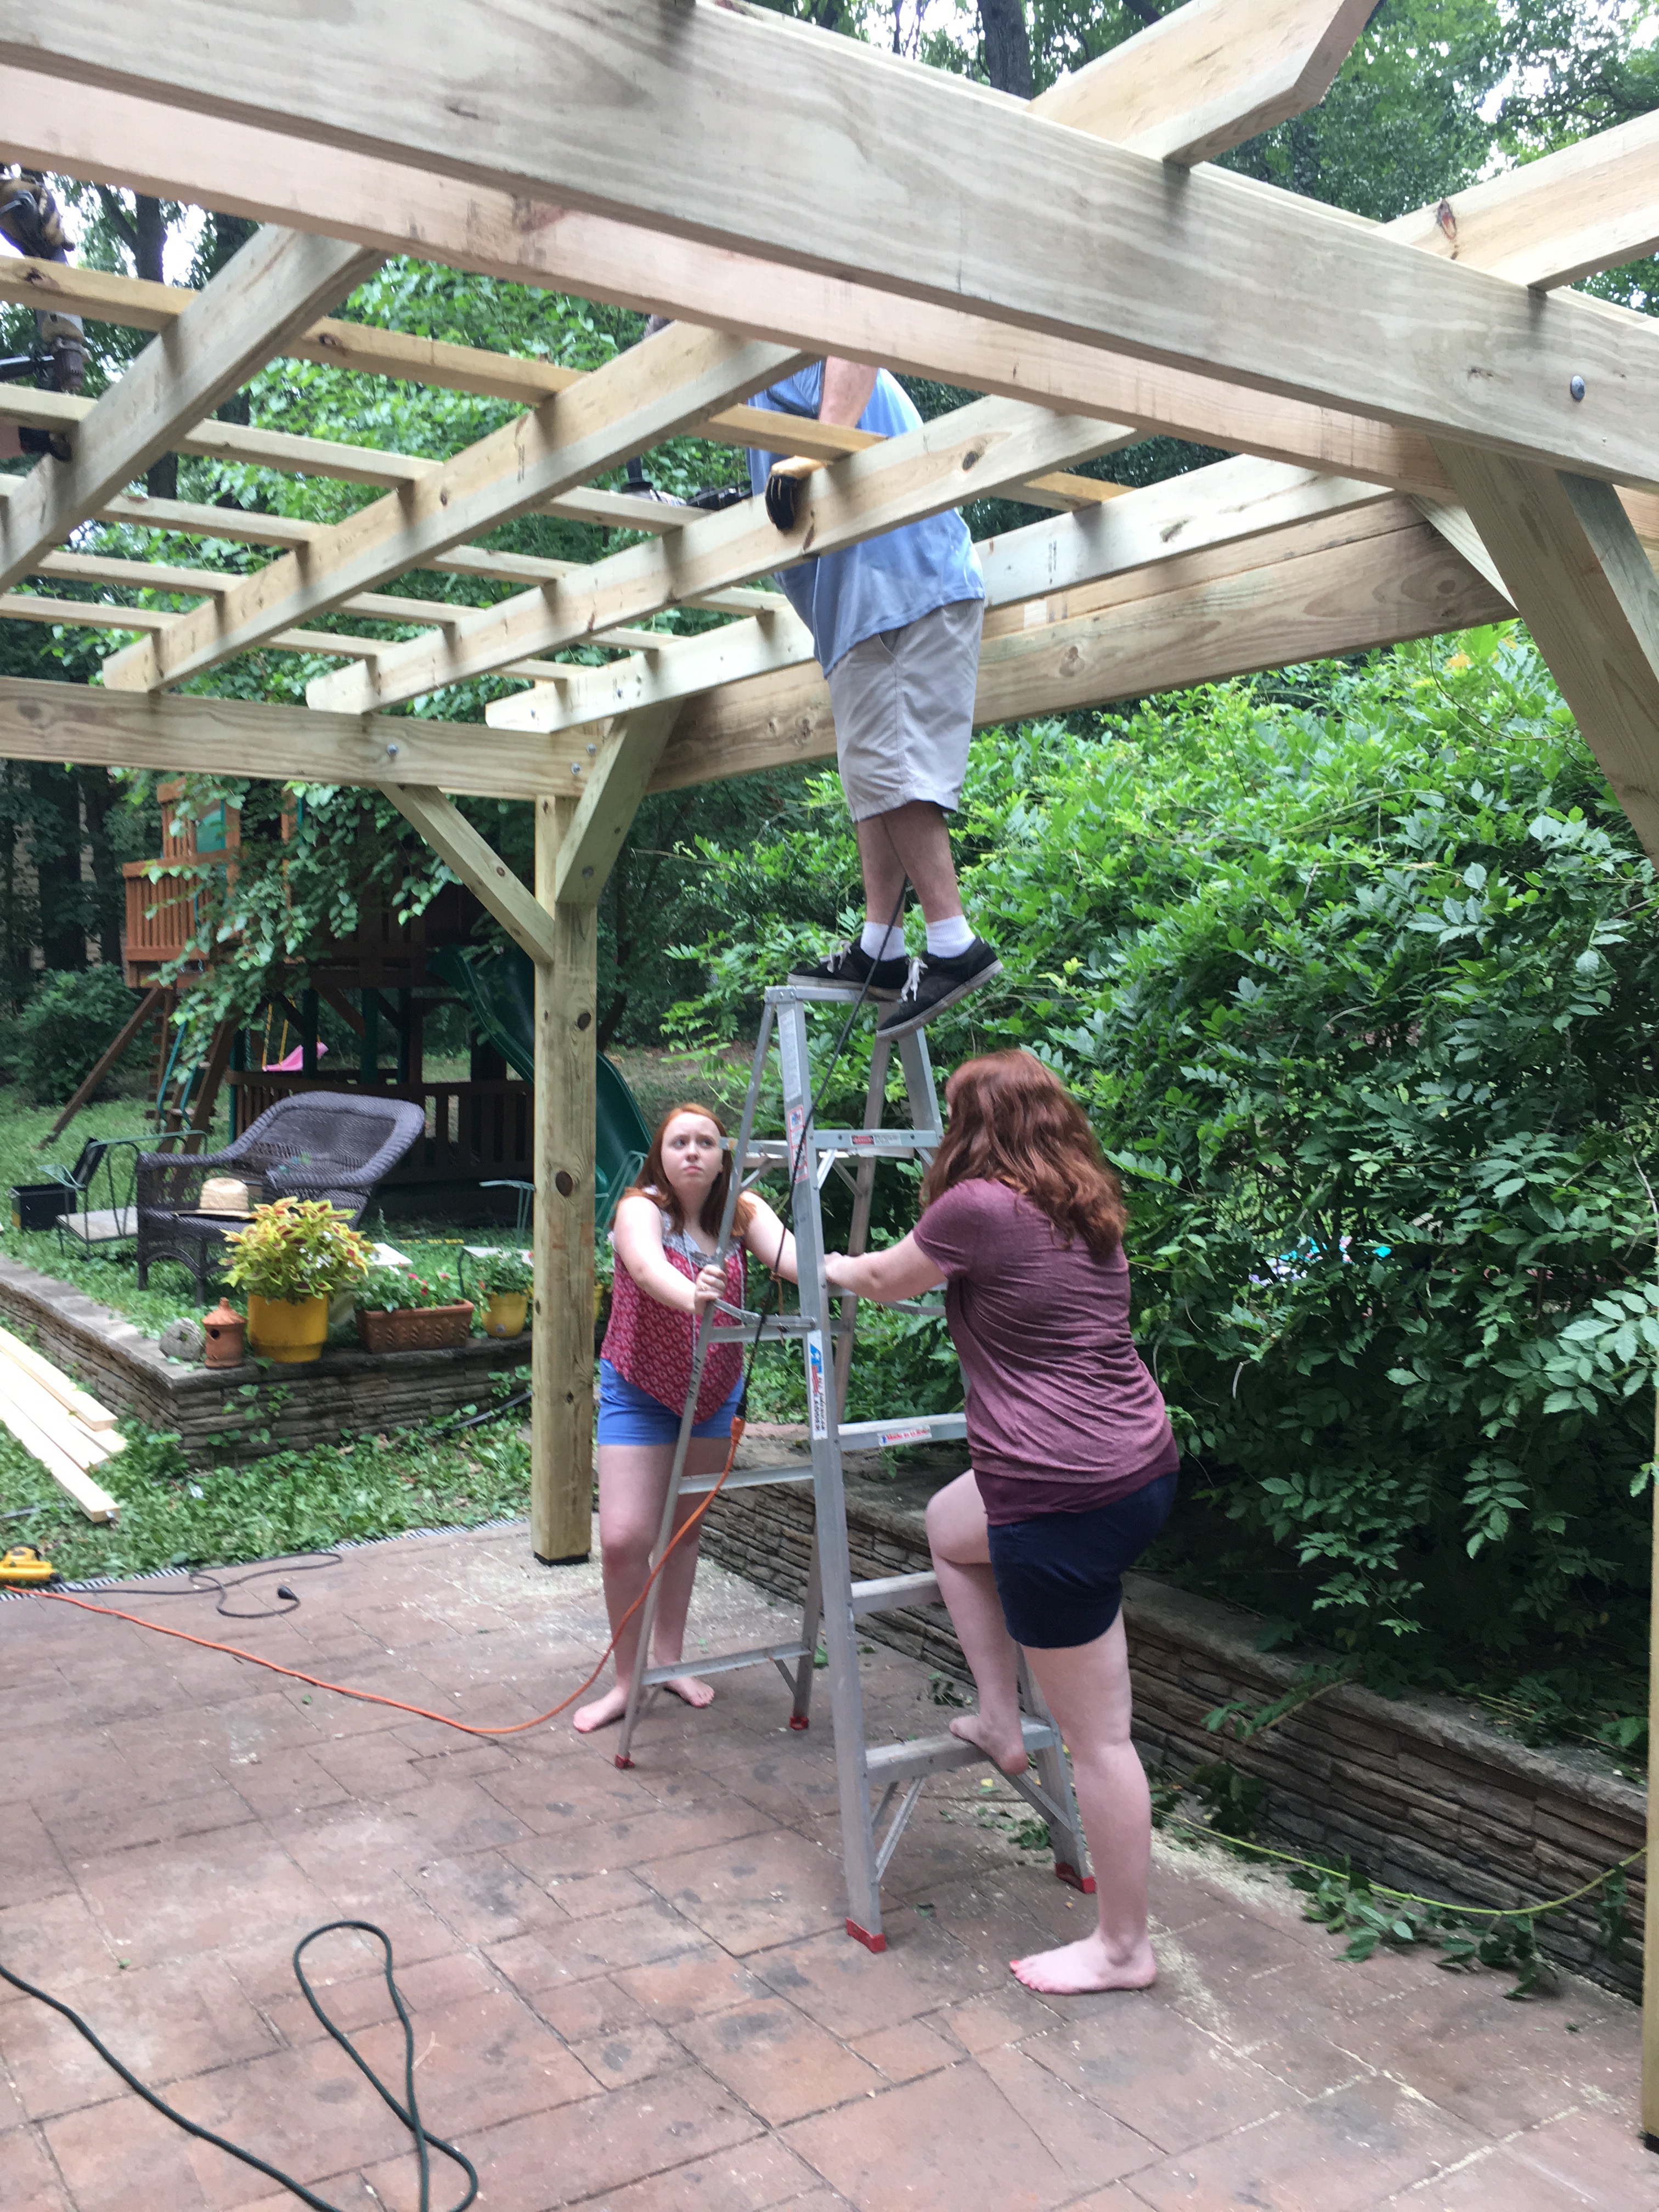
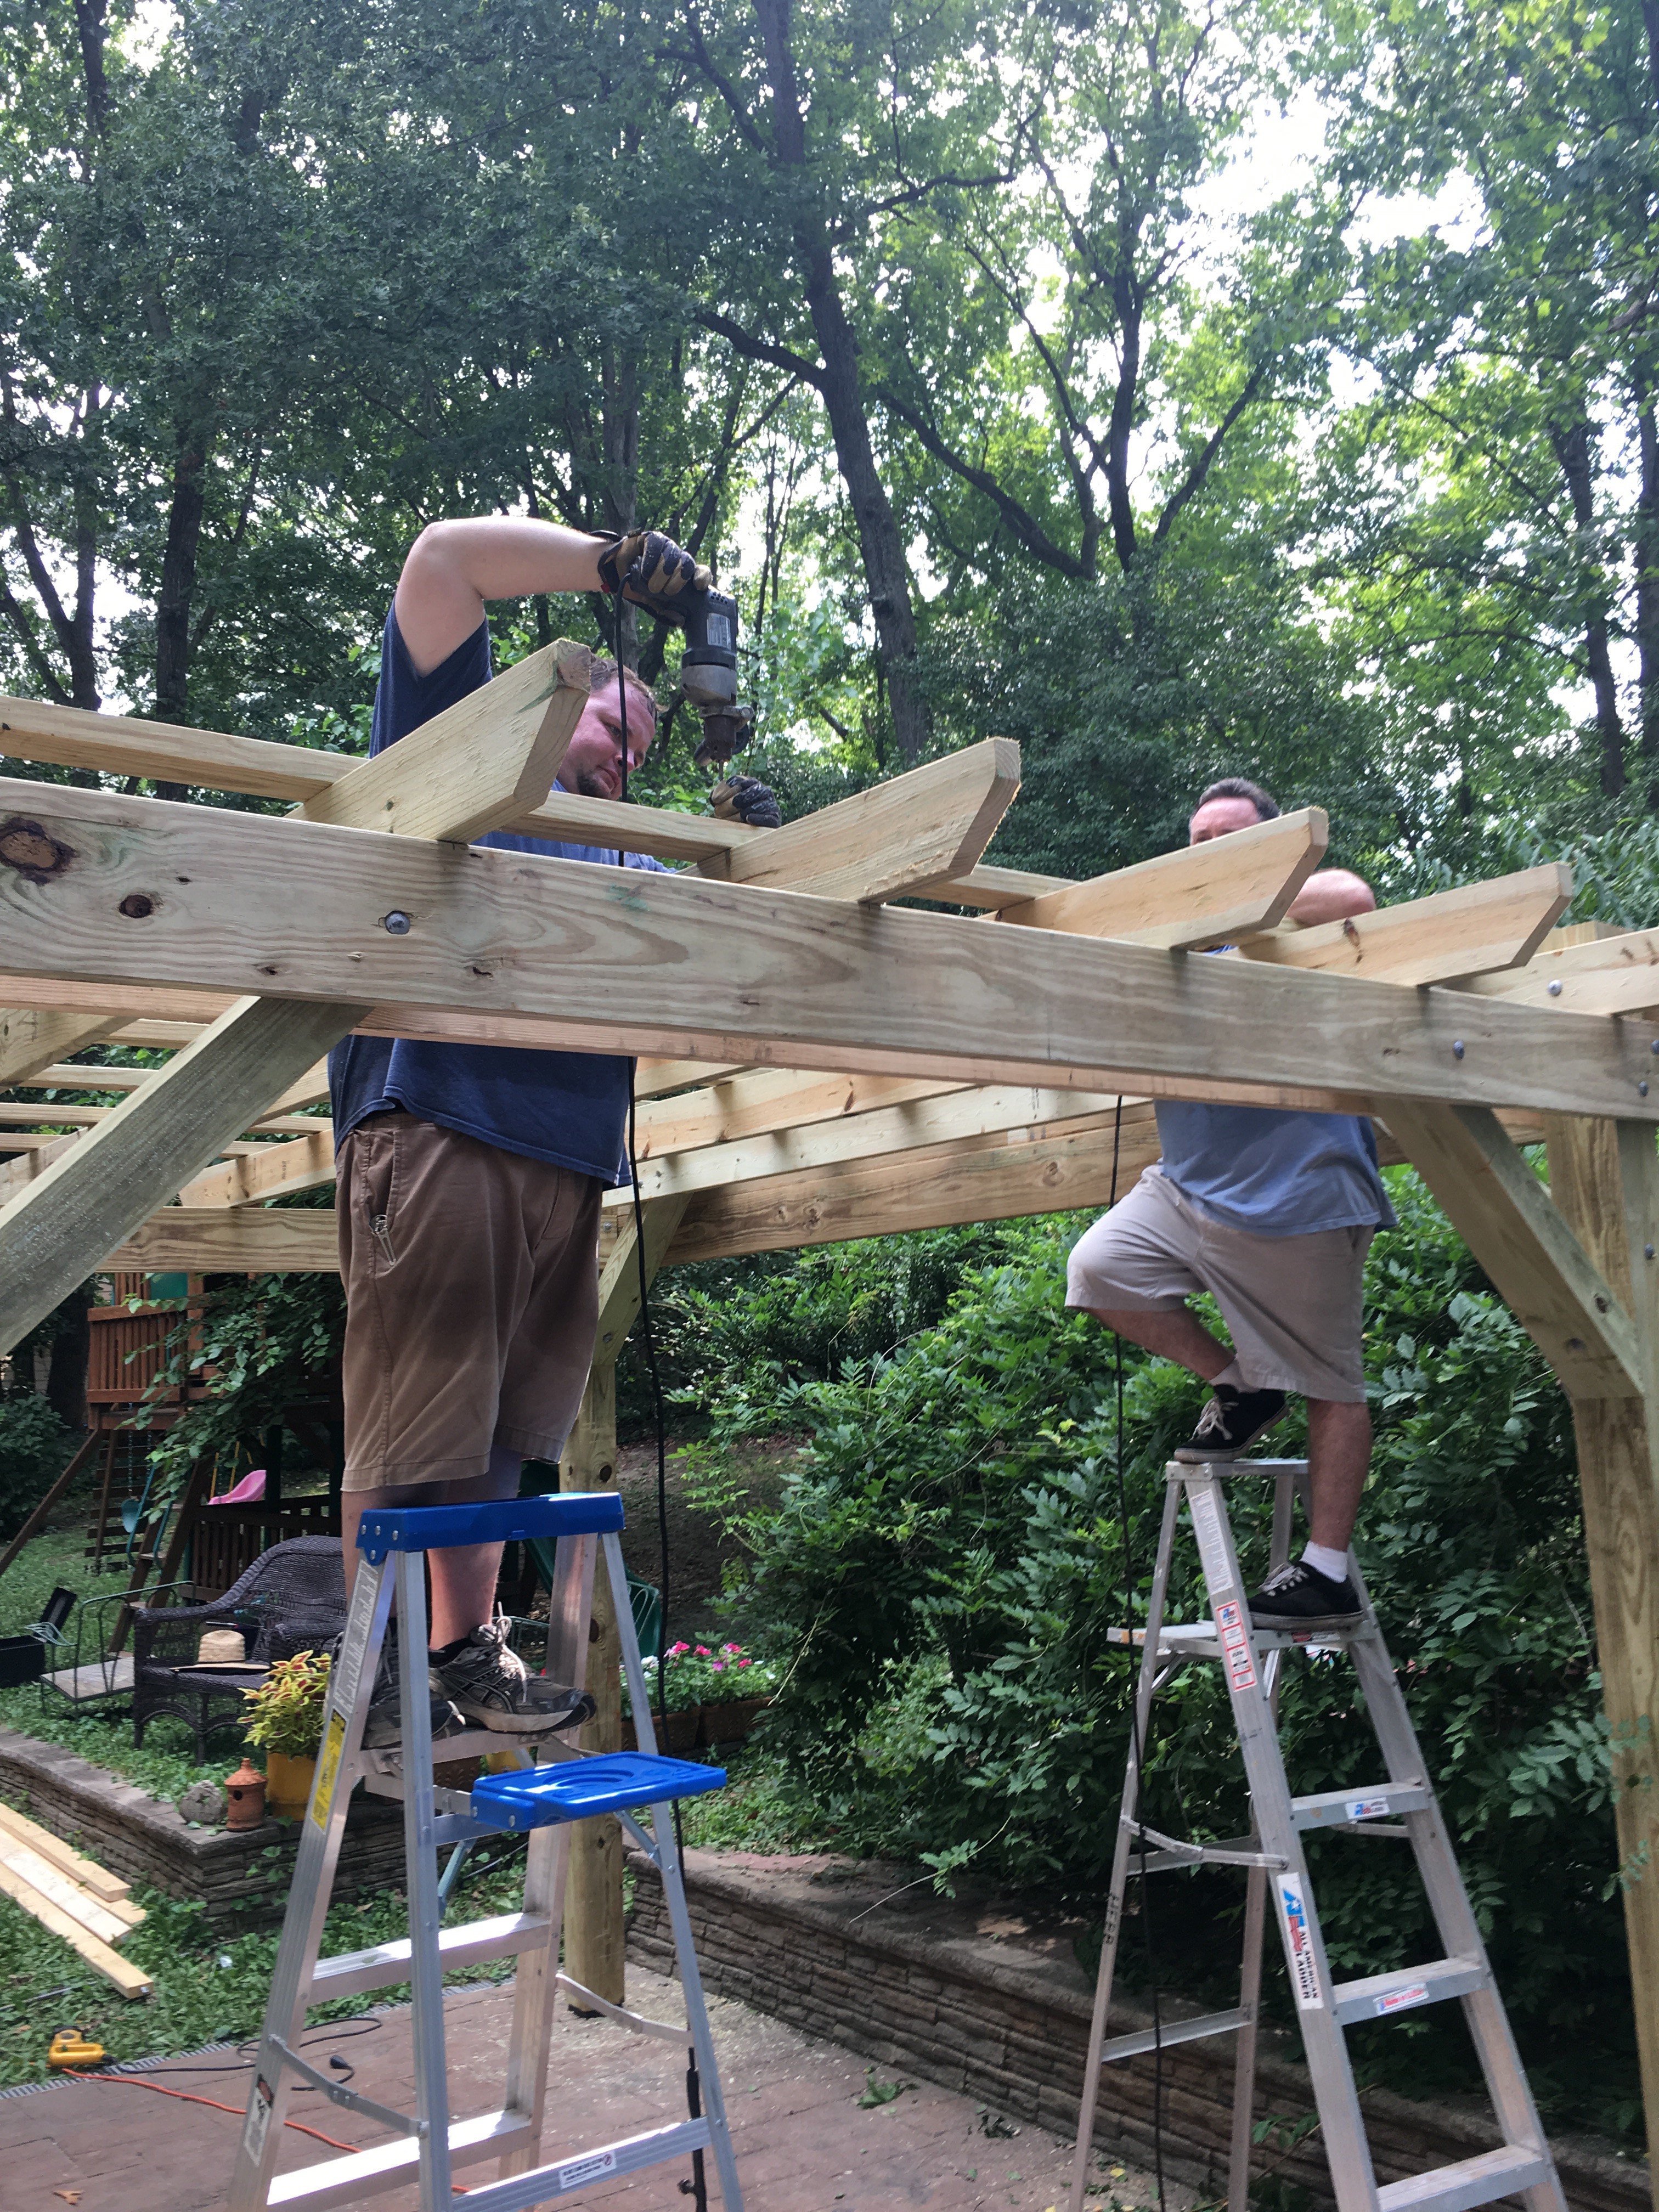

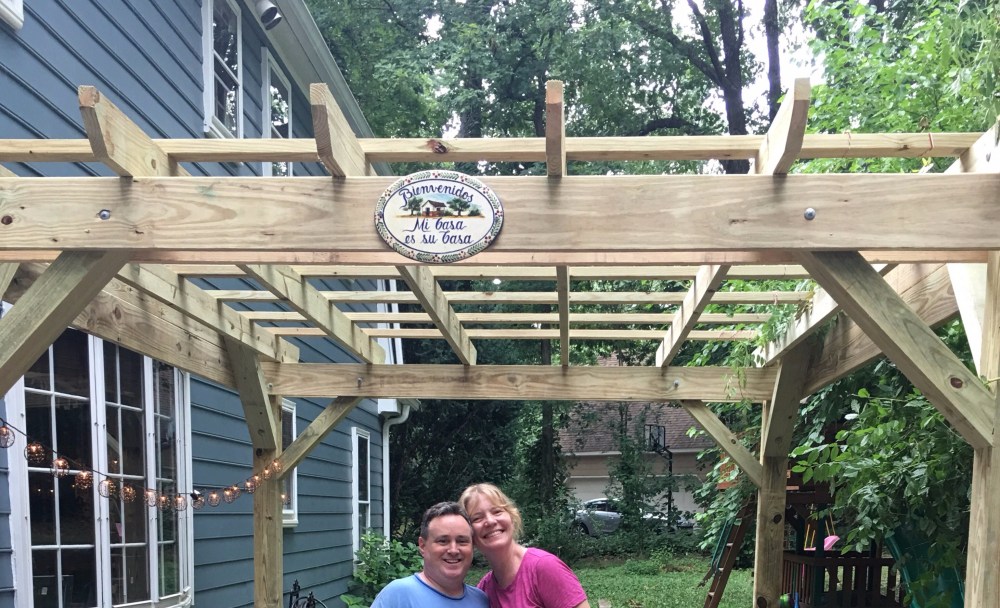
It took three FULL days, two strong men, and the ladies to help with support of posts, holding ladders, retrieving hardware, cleaning up, cooking, and most importantly having fun along the way….
The last drilling of the nail…..


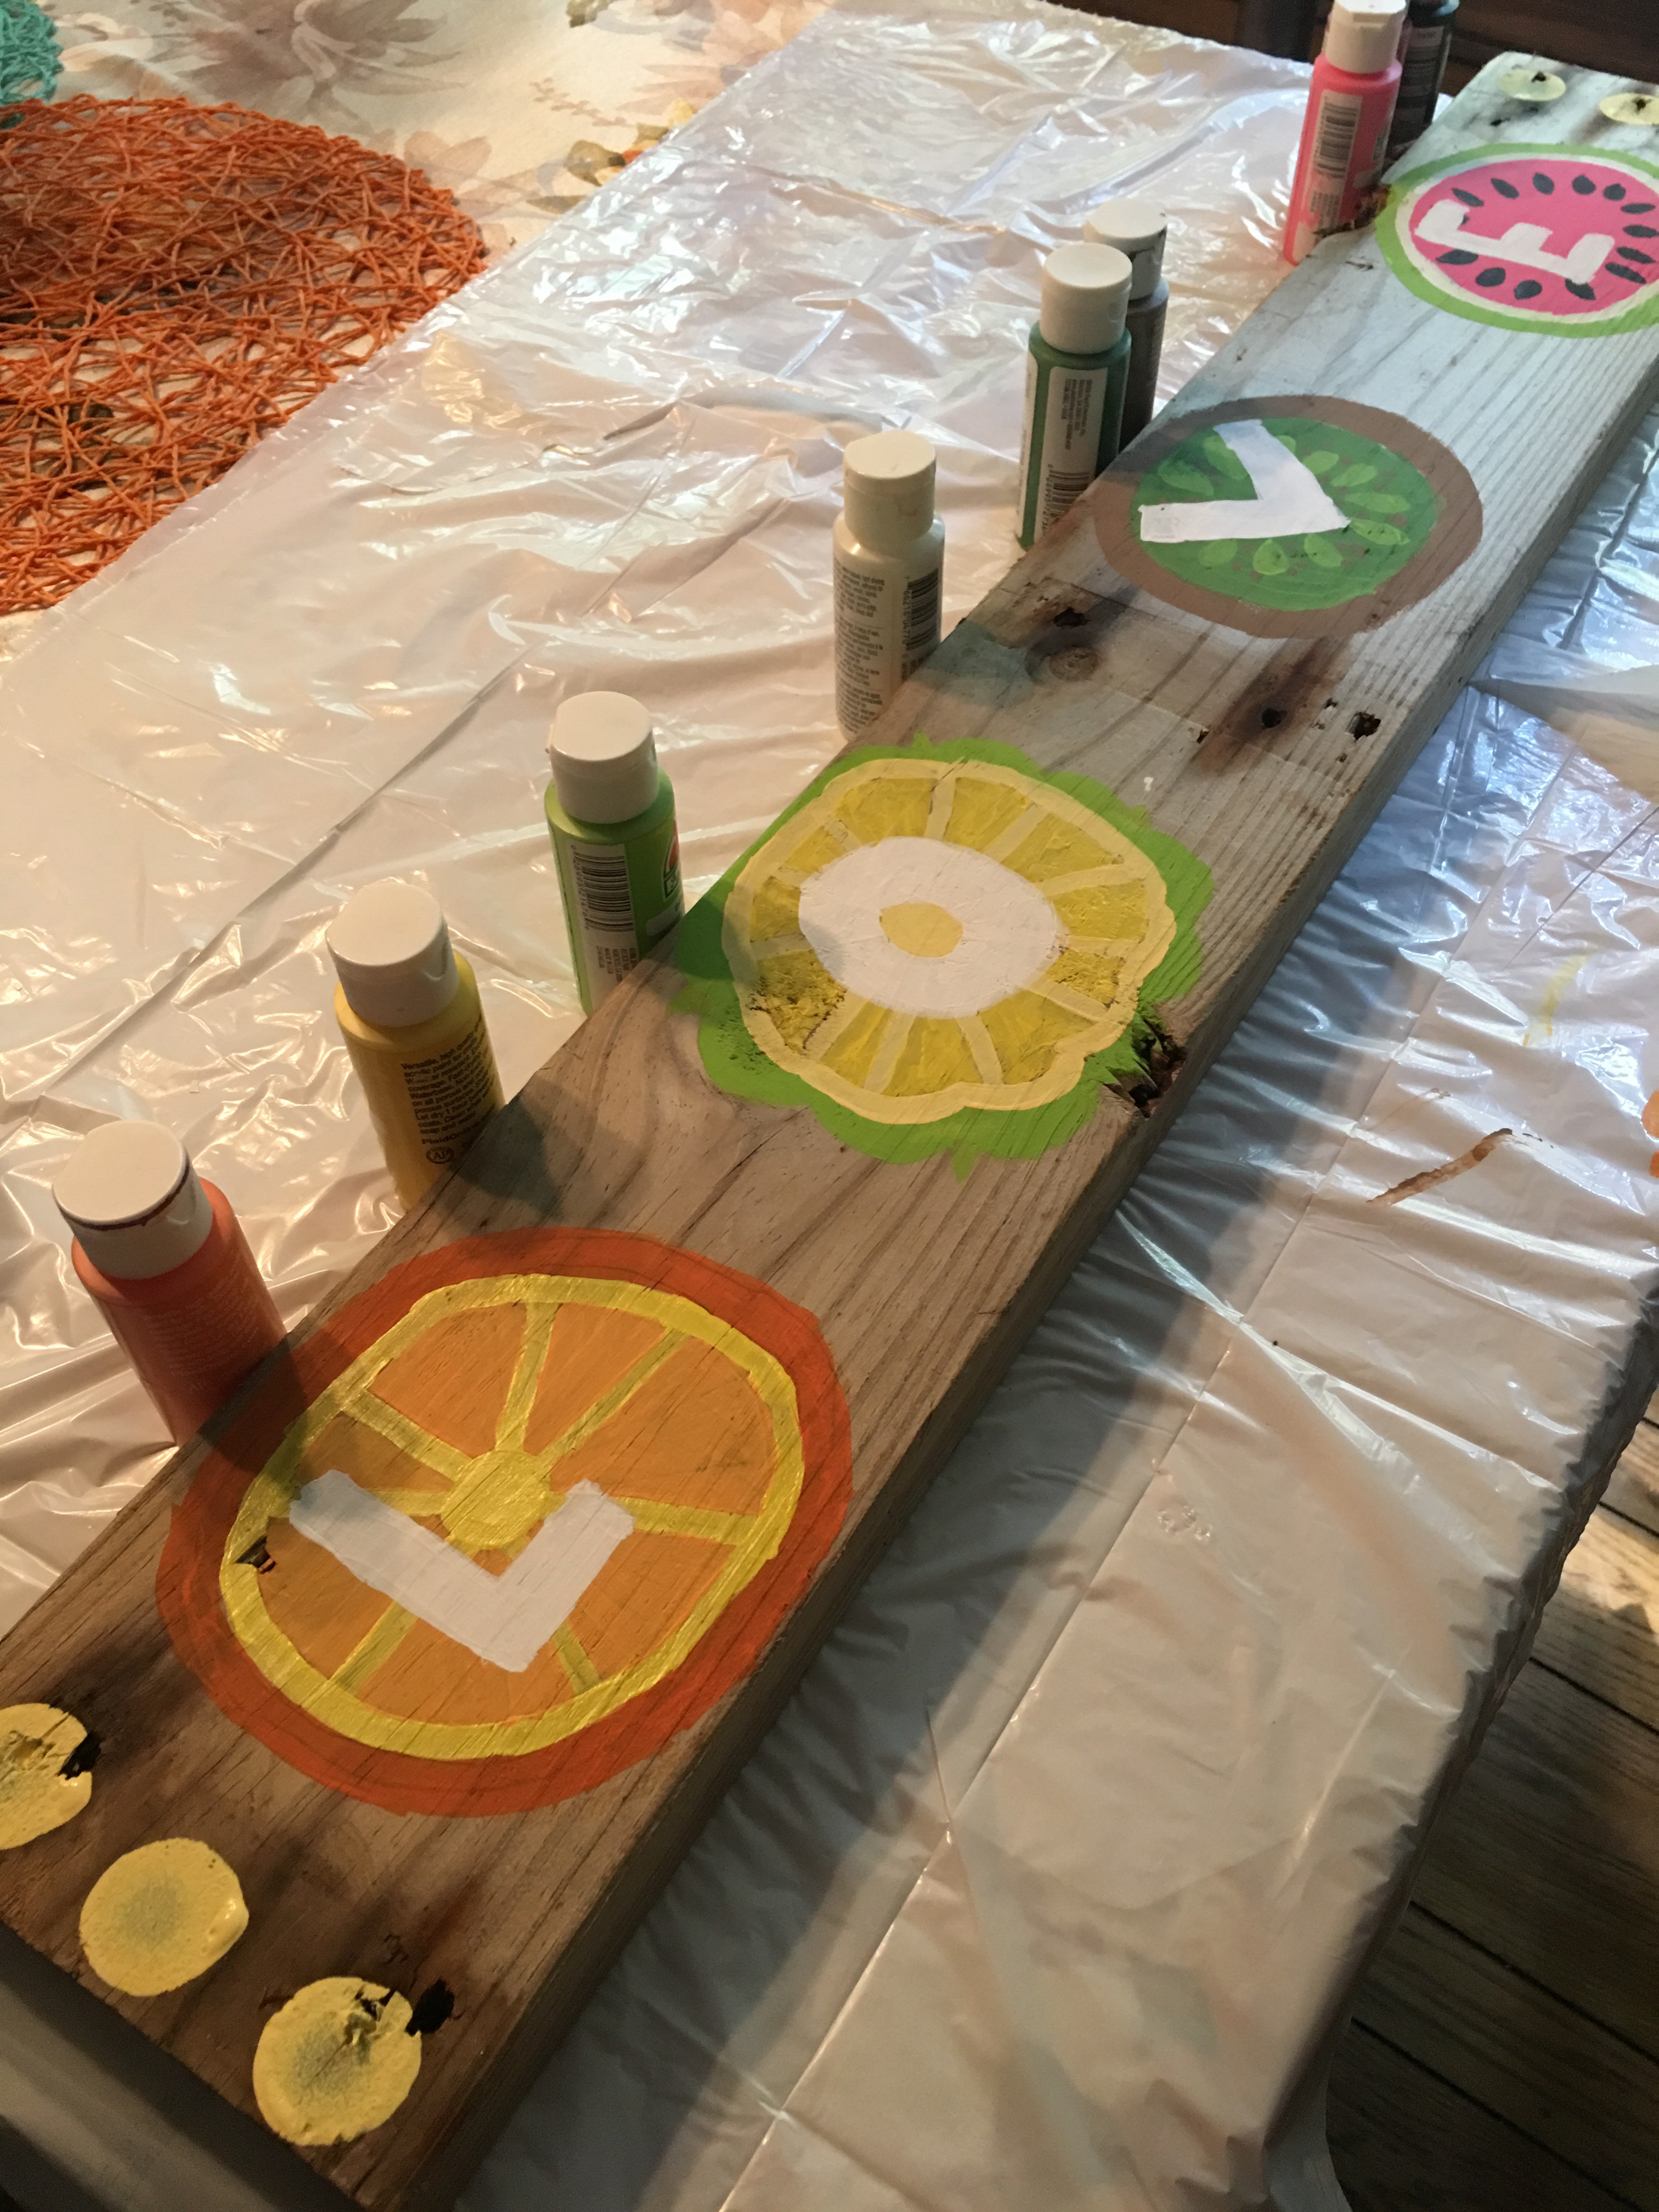
Let’s paint something for the pergola!

The next morning I got up early to enjoy the pergola paradise and Bible study.

Wow what a big job! It looks great! We are also doing a lot of outdoor work to our home, but will love the results when done!
LikeLike
The wisteria has grown completely over the pergola. From my office window on the second floor, I can look out the window and see it’s progress and beauty. Anna
LikeLike
I’m sure you are loving the view! Enjoy!
LikeLiked by 1 person
Thank you! I’m enjoying your posts! Anna
LikeLike
Thank you Anna, I appreciate you saying that!
LikeLike